So, you've got a ding, a dent, or maybe even a full-blown hole in your drywall. Happens to the best of us. Maybe a doorknob went rogue, or a picture hook got ripped out, or your kid decided to test their wrestling moves on the living room wall. Whatever the cause, you're staring at an eyesore and wondering, "Can I fix this myself, or am I calling someone?"
As someone who's patched more walls than I can count here in Provo, I can tell you there's a big difference between a small patch job and something that needs a professional touch. Let's break down what you can realistically do and when it's time to pick up the phone.
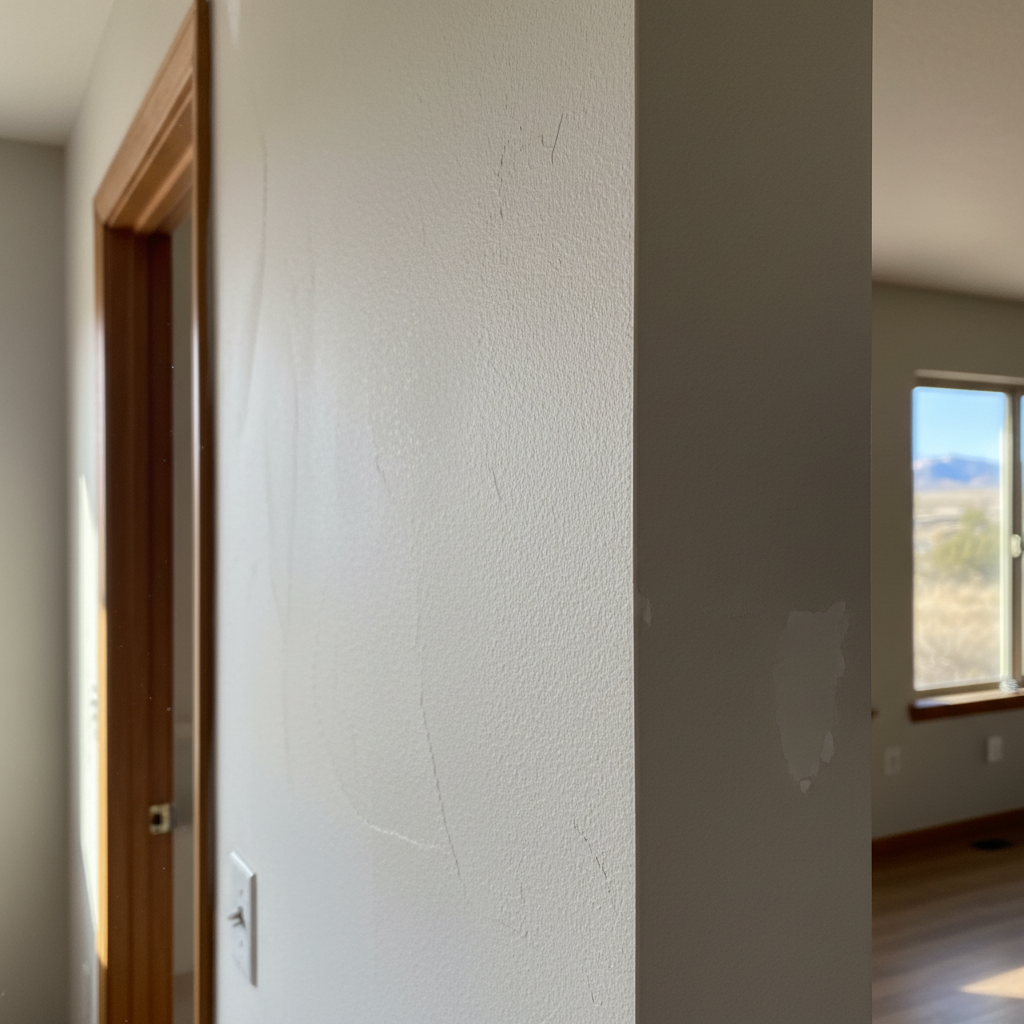
Small Stuff: Dings, Dents, and Nail Holes
These are the easiest. If it's just a nail hole from a picture, a small ding from moving furniture, or a scuff mark, you're in luck. You can absolutely handle these yourself.
- What you'll need: A small tub of spackle or lightweight joint compound, a putty knife (a 2-inch one is perfect), fine-grit sandpaper (150-220 grit), and a damp rag.
- How to do it: Clean the area first. Seriously, get any dust or loose paint off. Then, use your putty knife to apply a thin layer of spackle over the hole or ding. You want it to be slightly proud of the wall surface. Let it dry completely – this is key. Don't rush it. Once dry, lightly sand it smooth until it's flush with the wall. Wipe off the dust, and you're ready for paint. You might need a second thin coat if it shrinks a lot.
This is a great starting point for any homeowner. It builds confidence, and you'll save a few bucks not calling someone for something so minor.
Medium-Sized Holes: Up to About 6 Inches
Now we're talking about something a bit more substantial. Maybe a fist-sized hole, or a spot where a towel rack got yanked out. These are still DIY-friendly, but they require a bit more effort and a few more tools.
- What you'll need: A drywall patch kit (these usually come with a self-adhesive mesh patch), joint compound (the all-purpose kind, not just spackle), a 6-inch putty knife, fine-grit sandpaper, and a utility knife.
- How to do it: First, trim any ragged edges around the hole with your utility knife. You want a clean opening. Apply the self-adhesive mesh patch directly over the hole, making sure it's centered and sticks well. Now, apply a thin, even layer of joint compound over the patch, feathering it out about 2-3 inches beyond the edges of the patch. Let it dry completely. This might take several hours, especially if it's humid, which we get plenty of here in Provo during the summer.
- Once dry, lightly sand it. You'll probably need a second, even thinner coat of compound to get it perfectly smooth, feathering it out even wider this time. Think of it like a very gentle dome over the patch. Let that dry, then sand again. The goal is for the patch to blend seamlessly into the wall.
This takes patience. Don't try to put on one thick coat; it'll crack and take forever to dry. Multiple thin coats are always better.
When to Call a Pro (Like Charis Drywall Solutions)
Alright, this is where I tell you when to step away from the putty knife and pick up the phone. There are definitely situations where trying to DIY will just lead to frustration, a worse mess, and ultimately, more money spent.
- Large Holes or Damaged Sections: If you've got a hole bigger than, say, 6-8 inches, especially if it's in a high-traffic area, or if a whole section of drywall is crumbling (maybe from water damage or an old repair gone bad), you're better off calling a professional. These jobs often require cutting out sections of drywall, installing new backing (like wood furring strips), and taping seams. It's a different ballgame.
- Water Damage: If the drywall is soft, discolored, or actively wet from a leak, you've got bigger problems than just a hole. You need to address the source of the water first. Once that's fixed, the damaged drywall needs to be completely removed and replaced. This is often a larger section, and if not done right, you risk mold growth.
- Ceiling Repairs: Working overhead is tricky. Compound sags, dust falls, and getting a smooth, seamless finish on a ceiling is much harder than on a wall. Plus, if it's a large crack or sagging ceiling, it could indicate structural issues. Don't mess around with ceilings unless it's a tiny crack.
- Textured Walls: Many homes in Provo, especially older ones, have textured walls – orange peel, knockdown, skip trowel. Matching that texture perfectly is an art. If you try to patch a smooth spot on a textured wall, it'll stick out like a sore thumb. Professionals have the tools and experience to blend textures seamlessly.
- Time and Skill Constraints: Be honest with yourself. Do you have the time? Do you have the patience? Do you want to learn a new skill right now? If the answer to any of those is no, it's okay to call for help. Your time is valuable, and sometimes paying for a perfect, hassle-free repair is worth every penny.
Look, I'm all for homeowners tackling projects, but I've also seen plenty of well-intentioned DIY repairs that end up costing more to fix than if the homeowner had just called us in the first place. My team at Charis Drywall Solutions sees it all the time. We can fix those tricky spots, match textures, and make it look like the damage never happened. Don't hesitate to reach out if you're unsure. A quick call or email can save you a lot of headache.
Ultimately, the best advice I can give you is to know your limits. Small stuff? Go for it. Big, complicated, or textured repairs? That's what we're here for.